Logo Usage Guide & Brand Asset Management | SendTheLogo
Learn how to create, manage, and share your logo, a professional logo usage guide, brand colors, and assets using SendTheLogo’s brand management tools.
SendTheLogo.com User Guide
Welcome to SendTheLogo — a simple, professional way to upload logos, organize brand assets, and share everything through one clean link.
This guide is written for non-technical users. You don’t need design or development experience to use SendTheLogo successfully. If you can upload a file and click a button, you’re good.
---
Quick Start (5 minutes to your first share link)
If you want results fast, follow these steps:
- Upload your primary logo
- Go to Dashboard → Logos → Upload Logos
- Add any logo variations (icon, stacked, wordmark)
- Add your brand colors (or create a palette)
- Create a Brand Page
- Select your logos and palettes
- Publish the Brand Page
- Copy the link and share it
That’s it. You’ve replaced email attachments, Dropbox links, and “Which logo should I use?” messages with one source of truth.
---
Table of Contents
- Getting Oriented: Your Dashboard
- Uploading Logos & Generating Variations
- Managing Brand Colors
- Logo Usage Guides
- Creating & Publishing a Brand Page
- Best Practices for Success
---
Getting Oriented: Your Dashboard
After logging in, you’ll land in the Dashboard. This is your control center.
Main sections you’ll use
- Logos – Upload logos, create variations, download files
- Brand Colors – Build and organize color palettes
- Logo Guidelines – Upload or generate usage guides
- Brand Pages – Create public, shareable brand portals
- Account / Billing – Manage plan details and limits
You can move between sections using the sidebar at any time.
---
Uploading Logos & Generating Variations
Upload a logo
- Go to Dashboard → Logos
- Click Upload Logos
- Drag & drop your logo file or browse your computer
- Enter a Logo Name
- Click Upload
Your logo will appear as a card once processing is complete.
Supported logo files
Depending on your plan, SendTheLogo supports common formats such as:
- PNG
- JPG / JPEG
- WebP
- SVG
- EPS
- AI
If a file type isn’t included in your plan, the app will let you know.
---
Download logo file formats
Each logo card includes buttons for available formats (PNG, SVG, PDF, etc.).
For each format you can:
- Download the file
- Copy a direct link (great for developers or printers)
If a format isn’t ready yet, it may appear disabled briefly while processing finishes.
---
Create logo variations
Logo variations are alternate versions of the same logo (for example: icon, stacked, or wordmark).
- On a logo card, click Add Variation
- Upload the variation file
- Select a Layout Type (or create a custom one)
- Name the variation
- Save
All variations stay grouped together so people know they’re approved options.
---
Generate monotone (single-color) logos
If your logo is available as SVG, SendTheLogo can generate single-color versions automatically.
- On the logo card, click Generate Monotone Variations
- Select the variations you want
- Click Generate
This is useful for black, white, or single-ink printing needs.
---
Managing Brand Colors
Brand colors are organized into Palettes. Think of palettes as collections of colors that belong together.
---
Add colors to a palette
- Go to Dashboard → Brand Colors
- Open an existing palette
- Click Add Color
You’ll enter:
- Color Name (example: Primary Blue)
- HEX Code (example: #0057FF)
- Pantone Code (optional, plan-dependent)
- Color Type (Primary, Secondary, Accent, Neutral)
Click Add Color to save.
---
Create a new color palette
- Go to Dashboard → Brand Colors
- Click Create Palette
- Enter:
- Palette Name
- Optional description (how the palette should be used)
- Click Create Palette
You can drag colors between palettes or reorder them using drag-and-drop.
---
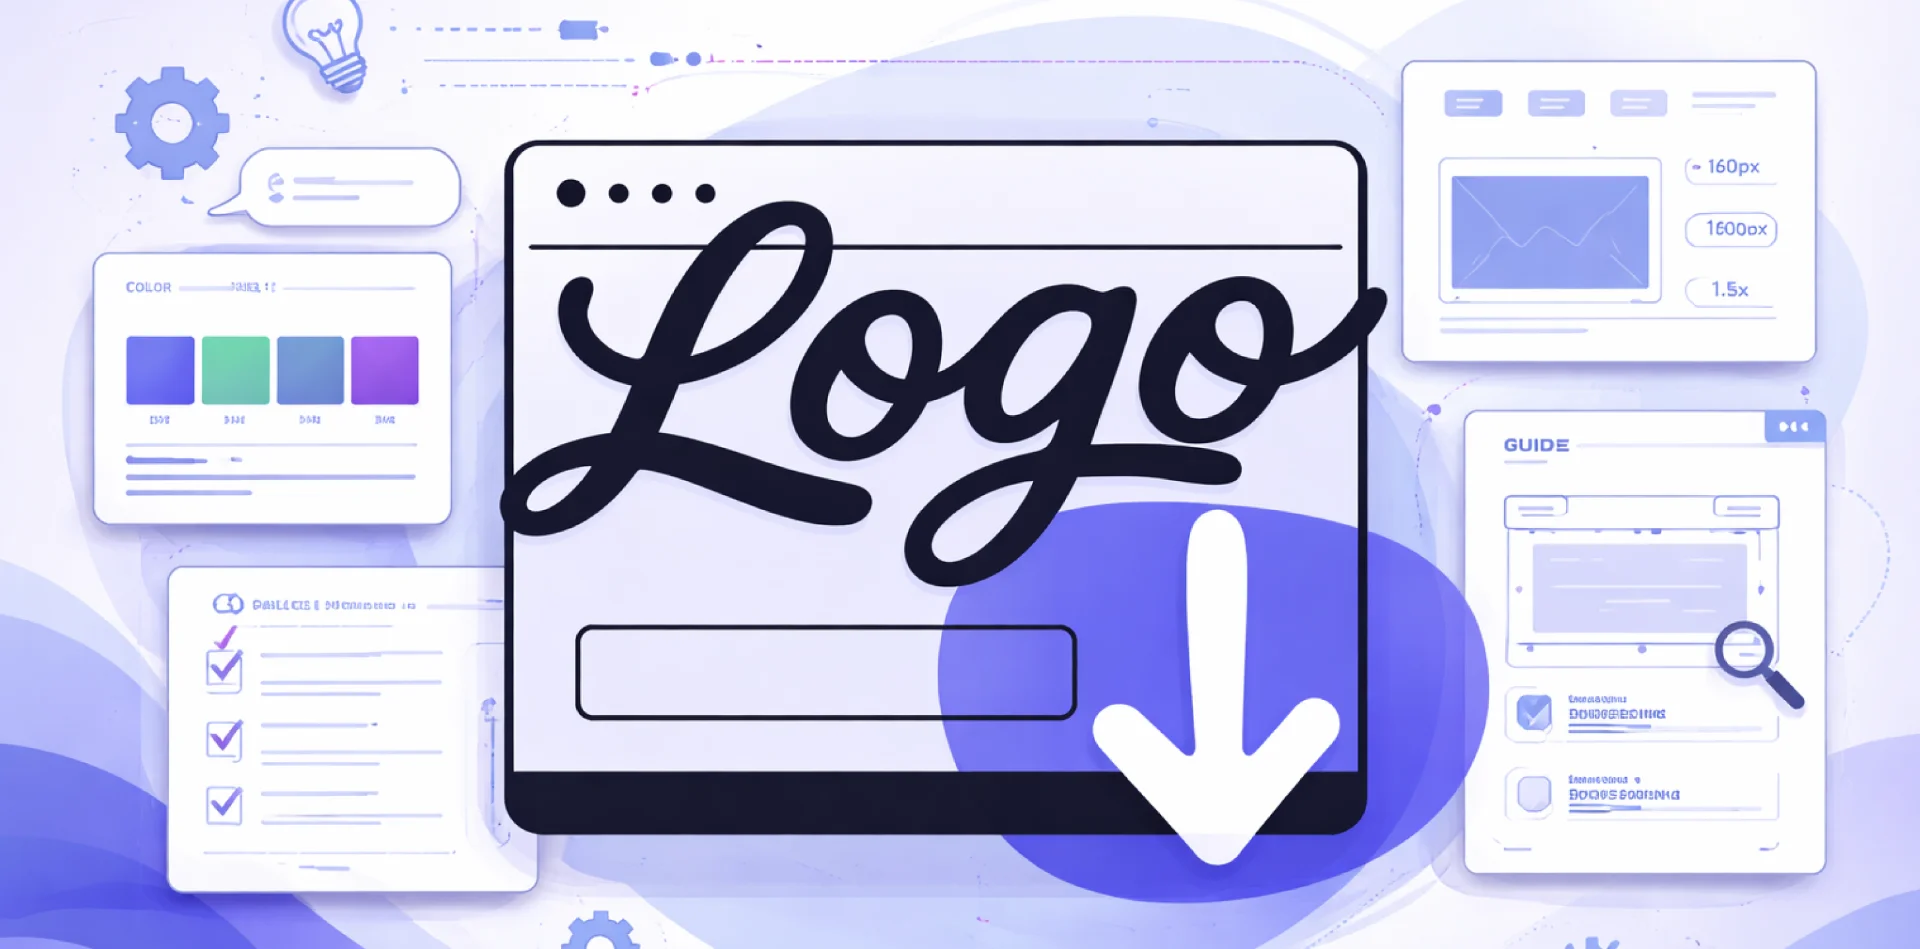
Logo Usage Guides
Logo usage guides explain how logos should and should not be used. SendTheLogo supports both uploaded guides and automatically generated ones.
---
Upload an existing logo guide (PDF)
If you already have brand guidelines:
- Go to Dashboard → Logo Guidelines
- Click Upload Custom PDF
- Upload your PDF (up to 20MB)
- Add a name and optional description
- Save
The guide can now be included on Brand Pages.
---
Generate a logo usage guide
SendTheLogo can generate a clean, professional logo guide for you.
- Go to Dashboard → Logo Guidelines
- Click Generate Guidelines
- Name the guide
You’ll then configure it using simple visual tools:
- Select the primary logo
- Define logo bounds
- Set an x-height reference
- Choose a clear space multiplier (like 1.5x)
- Set minimum logo sizes
- Include color palettes
- Toggle guide sections on or off
Once complete, preview and save. The guide can be shared like any uploaded PDF.
---
Creating & Publishing a Brand Page
A Brand Page is a public, shareable page that contains everything someone needs to use your brand correctly.
---
Create a Brand Page
- Go to Dashboard → Brand Pages
- Click Create Brand Page
You’ll be asked for:
- Subdomain (your public URL)
- Brand name
- Page title
- Logos to include
Optional additions:
- Color palettes
- Logo usage guides
- Descriptions or context
Save to create the page.
---
Publish and share
Each Brand Page has a status toggle:
- Offline – not publicly accessible
- Live – publicly accessible
Switch to Live, then:
- Copy the page URL
- Share it with clients, partners, printers, or developers
- Embed it on your website if needed
---
Best Practices for Success
Name things clearly
Good naming avoids confusion:
- BrandName – Primary Logo
- BrandName – Icon
- BrandName – Stacked
- BrandName – Monotone Black
Use palettes intentionally
Create palettes based on usage:
- Primary Brand Colors
- UI / Interface Colors
- Campaign or Seasonal Colors
One link replaces everything
Instead of emailing attachments or explaining logo rules repeatedly, send your Brand Page link. It becomes your single source of truth.
---
If you ever wonder, “Is this the right logo to send?” — the answer should be: send the link instead.